An FSX Scenery Developer’s Intro to X-Plane
May 27, 2018
Developer
Hi, my name is Bill. For the last fifteen or so years, I’ve been building scenery for FSX and later P3D. Recently, I decided to take the leap and get into doing X-Plane 11 scenery as well. Learning the ways of XP hasn’t always been easy, but it has been surprisingly simple compared to what I was expecting. That said, I spent a lot of time in the beginning of the process just trying to grasp the basics. This is the article I wish I’d found when I started.
Before I dive too deeply into things, you should know that I’m a relative neophyte at X-Plane myself. I’ve only been at it for a few months, but in that time, I’ve been able to produce one freeware and two payware airport packages [https://iblueyonder.com/x-plane-scenery/]. That said, it’s possible that there are other ways, even easier ones, than what I’m outlining here. This being the Web, no doubt someone will come along in seconds to correct me where I’m wrong.
This is a high-level look at the basics of X-Plane, geared towards FSX scenery developers. I’m not going to go into the details of how to work each of the programs mentioned below. Each comes with plenty of online documentation, so you’re on your own there. What I am hoping to do is give you a solid starting place from which to explore.
One other note before starting: yes, I am aware that there are tools out there that purport to convert FSX scenery to X-Plane. And yes, I have tried them. Having done so, my operating philosophy now is that it’s far easier to just learn to create scenery the proper X-Plane way than to spend hours tweaking a balky conversion. Plus, having gone through the whole process from scratch, I now have a much better idea of what’s truly involved in building native scenery for both platforms, and that knowledge is invaluable.
Setting Up Your Toolbox
Any good carpenter has her favorite tools. Likewise, there are some bits of software you’ll find indispensable for doing X-Plane scenery. Before you get into the actual design part of the show, consider downloading these:
World Editor (WED) – the one tool to rule them all in XP. https://developer.x-plane.com/tools/worldeditor/
Overlay Editor – upstart challenger to WED, and very useful for road editing https://forums.x-plane.org/index.php?/files/file/726-overlayeditor-dsf-scenery-editor/
Ortho MagiX – used to quickly convert single orthophotos to a set of georeferenced tiles https://forums.x-plane.org/index.php?/forums/topic/83960-orthomagix/
XPTools – includes XGrinder, the DDS conversion tool for XP https://developer.x-plane.com/tools/xptools/
ApplyDecals – a super simple tool for quickly applying detail decals to orthophotos https://forums.x-plane.org/index.php?/files/file/25147-apply-decals/
XPlane2Blender – a full-featured XP OBJ exporter for Blender, if Blender is your thing https://github.com/der-On/XPlane2Blender
ModelConverterX – optional, but can be massively helpful, especially if your 3D program doesn’t export to XP https://www.scenerydesign.org/modelconverterx/
NotePad++ - great Windows program for hand-editing OBJ files should the need arise https://notepad-plus-plus.org/
To Blend, or Not to Blend?
If you’re already designing scenery for FSX, you know what 3D modeling software you use. If that software is Blender, lucky you! It’s the best option I’ve found for easily creating cross-platform models. There’s a lovely set of FSX/P3D export tools, and a full-featured set of exporters for X-Plane as well.
If you’re not a Blender user, I’m not here to convert you; that’s your choice. If your 3D software has an X-Plane export module, use it. If it doesn’t, there’s always ModelConverterX which has had several X-Plane options added lately and will get the job done.
And of course, let’s not forget that once you export to OBJ files, the format is plain text and easily readable if you need to do any additional tweaking. That’s where Notepad++ comes in handy.
The Lay of the Land
I might as well call out the elephant in the room early. If you come from the FSX universe, you’ll be surprised at how uncooperative the terrain mesh system can be in X-Plane. It’s that way for a reason (performance), but it does introduce some compatibility issues among nearby scenery packages. You see, the XP world is broken up into pre-rendered tiles that are one degree of lat/lon each. That’s actually a significant chunk of terrain. If you release a scenery package that re-writes autogen and terrain for that particular tile, and someone else does the same for their scenery that’s in the same area, only one can win – the one that is on top in the scenery_packs.ini file.
In addition, while there are some cool things you can do to the mesh, landclass system, and even orthophotos in the mesh tiles, you’ll need to learn a command-line tool (MeshTool) to do so. It’s not impossibly difficult, but the documentation could be better, especially where examples are concerned.
There is also a fairly ingenious tool called Meshremexe for doing small edits to airfields, but so far it’s only given me about a 50% success rate. You don’t want to see the mess I made with the other half. For those reasons, I’m going to steer clear of advising you on either of the above tools. If you’re interested, there’s at least some info you can dig into for more details.
The Big Picture
One of the first things I tackle with any scenery is getting my orthophoto background in place. If you’ve done this in FSX or P3D (I’m going to call the whole MSFS universe “FSX” to keep it simple from here on out), you know the drill: find an acceptable orthophoto source, download it, make sure it’s projected properly, write your INF file, and run the whole enchilada through resample.exe for the final output BGL.

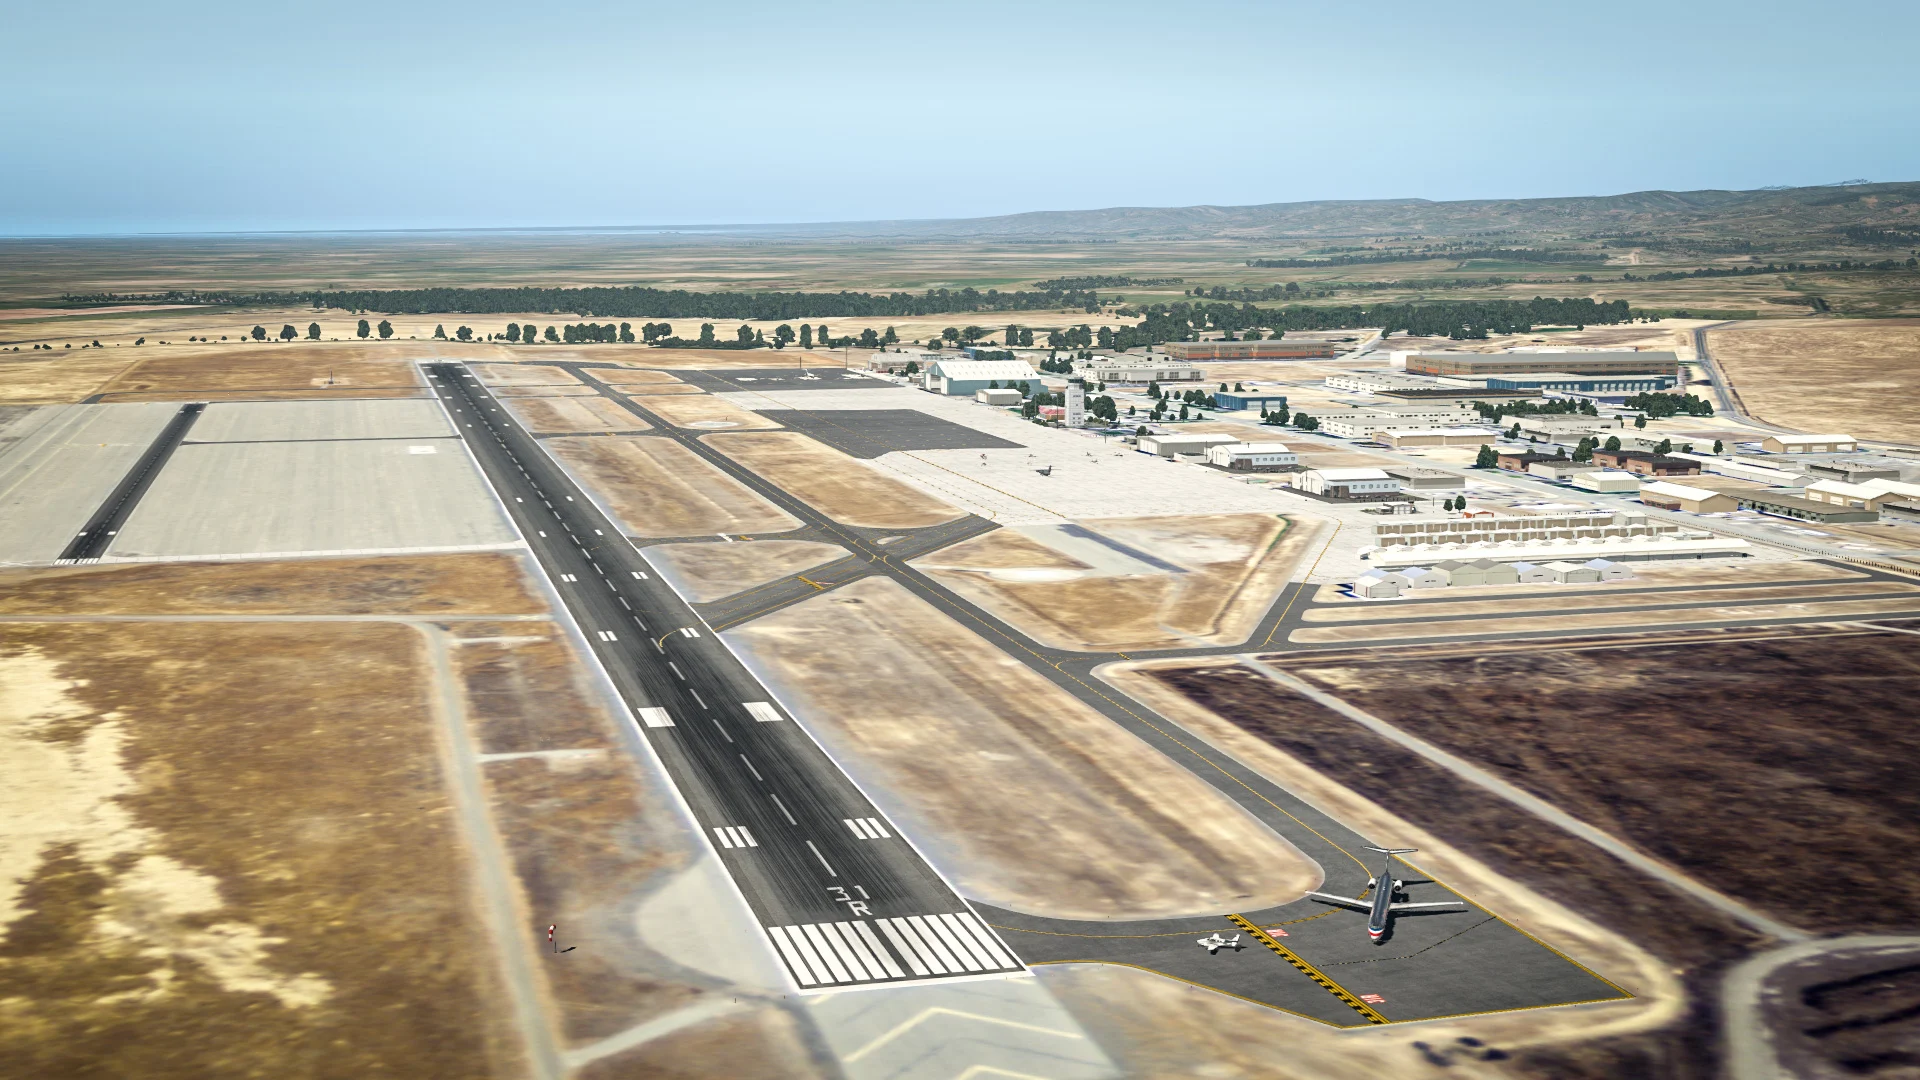
So, how to do the same for XP? It’s so simple, it almost feels like cheating. Using the finished, ready-to-resample geotiff file, launch Ortho MagiX and point it at your TIF, then let it do its thing. In a few seconds, voila! You’ve got a set of 2048px georeferenced TIF tiles. From there, launch WED, start a new project, copy the tiles to your new project folder and choose “import orthophoto”:
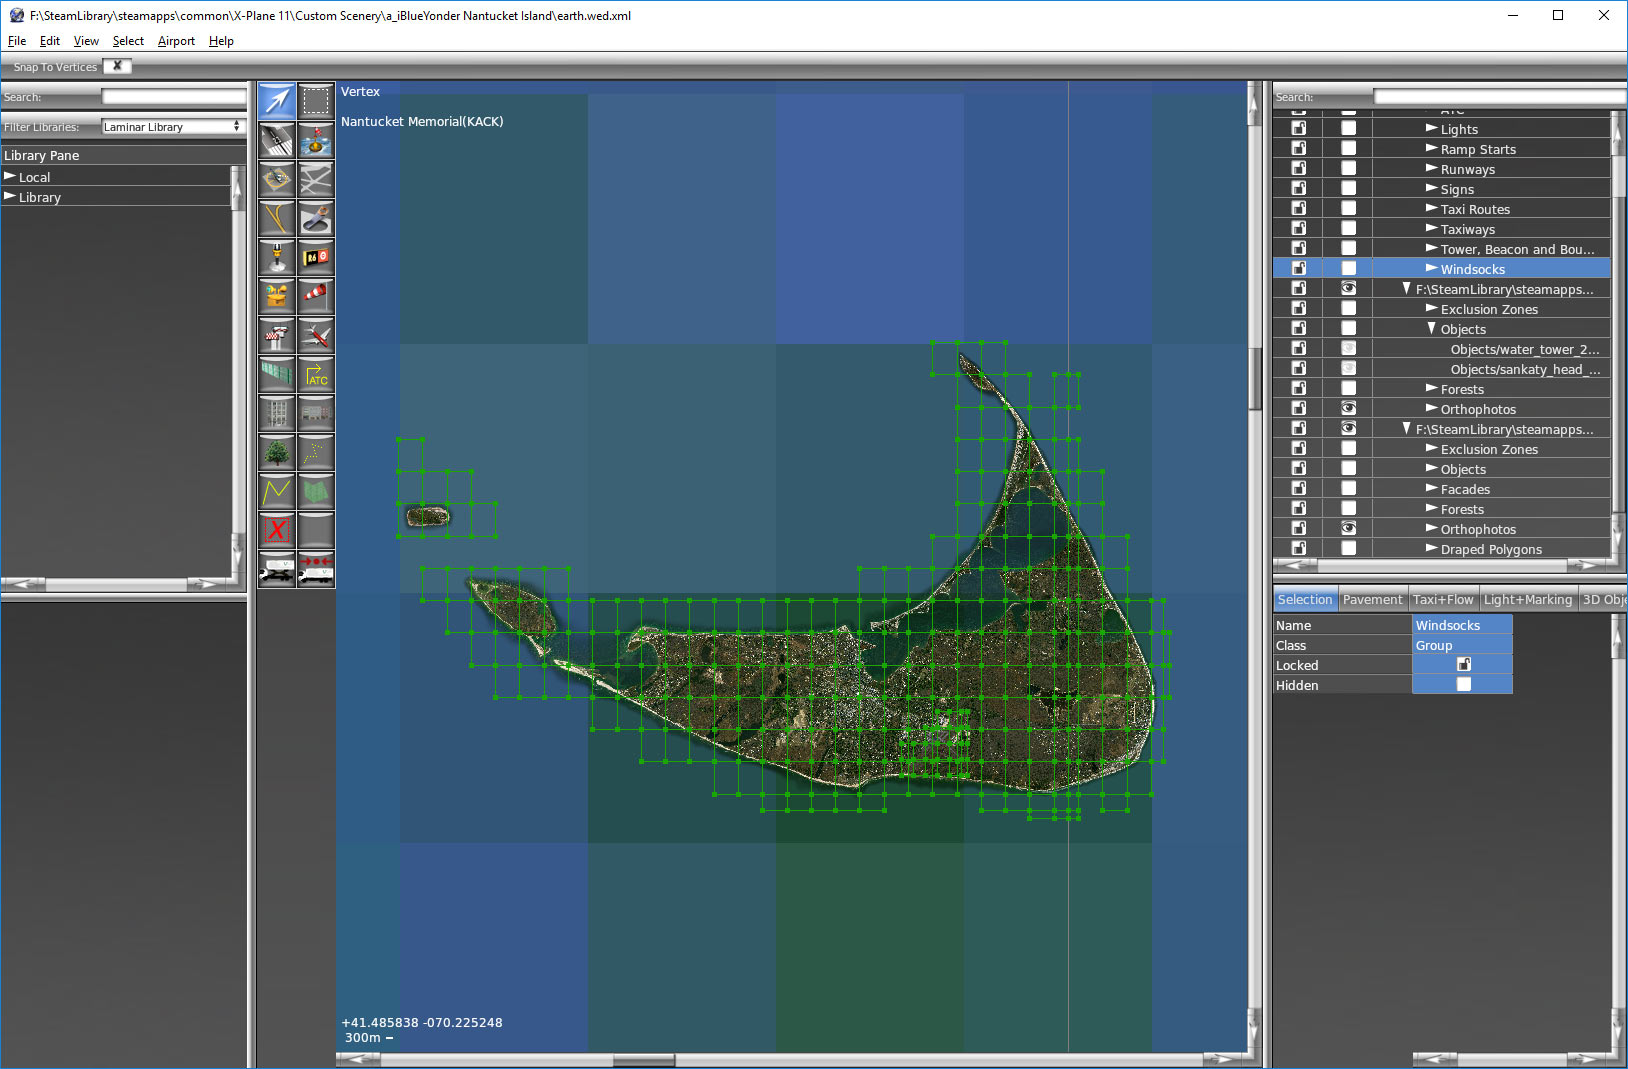
The next step is… wait, there is no next step. The ortho tiles have been converted to draped POL files and placed where they should be in your scenery. Dude, you are done! But what about seasons? Ha! This is X-Plane and life is just one long, glorious summer.
Oh yeah, and don’t forget to delete those original TIF tiles from your project before distributing your scenery. They’re no longer needed, and your users won’t thank you for adding several gigs to their download size. Leave them in your original WED folder though, or it will bark at you about missing files the next time you launch it.
I almost forgot to mention the best part of X-Plane orthos: decals! You know how you’ve got that detail1.bmp file in FSX that adds noise to orthophotos to make them look less blurry at ground level? Yeah, they’ve got something like that in XP, but it’s so much cooler. For one thing, there’s a system by which different detail textures can be applied and blended based on the color key of the ortho. For another, it’s dead easy to apply using ApplyDecals.exe. Find out about it. You will be smiling for the rest of the day.
Autogen Happiness
Now that the ortho is in place, you could dive straight into airport building, but I usually take this moment to get the surrounding area in good shape first. In FSX, that means adding autogen to the ortho area, since it was wiped out by the overlay. Here’s some good news: all that X-Plane autogen goodness is still there, poking right through your gorgeous photo-realistic background. What’s more, since it was derived from real-world data sources, it’s likely lining up well enough with your image already. So far, so very good.
But of course, you see things that need to be improved. For instance, for some reason the autogen source data didn’t include a whole neighborhood that’s clearly visible in your ortho. You’re handy with annotator in FSX, so you go looking for which magic X-Plane tool you need to add some more AGN buildings to the scene. Crickets chirping. You get nothing of any use in your Google search. That’s when the awful truth dawns: there’s no simple way to add new autogen buildings the way you’re used to. You can do something similar using facades in WED, which will help if you need to add flat-roofed industrial buildings, but all those pretty autogen houses are beyond your reach. Go cry it out, have a beer or two, and settle yourself. There’s better news ahead.
In the second part of this article, we’ll go from a good-looking ortho region with autogen to a full-blown custom airport that any dev could be proud of.
Share this page


COMMENT ADVISORY:
Threshold encourages informed discussion and debate - though this can only happen if all commenters remain civil when voicing their opinions.

.webp)

.webp)
